How to integrate Chat-GPT using C# and .Net Core


In this article, you will learn how to integrate with Chat-GPT in C# using .Net core.
Prerequisites
- Have an account with OpenAI platform.
CREATE A NEW PROJECT
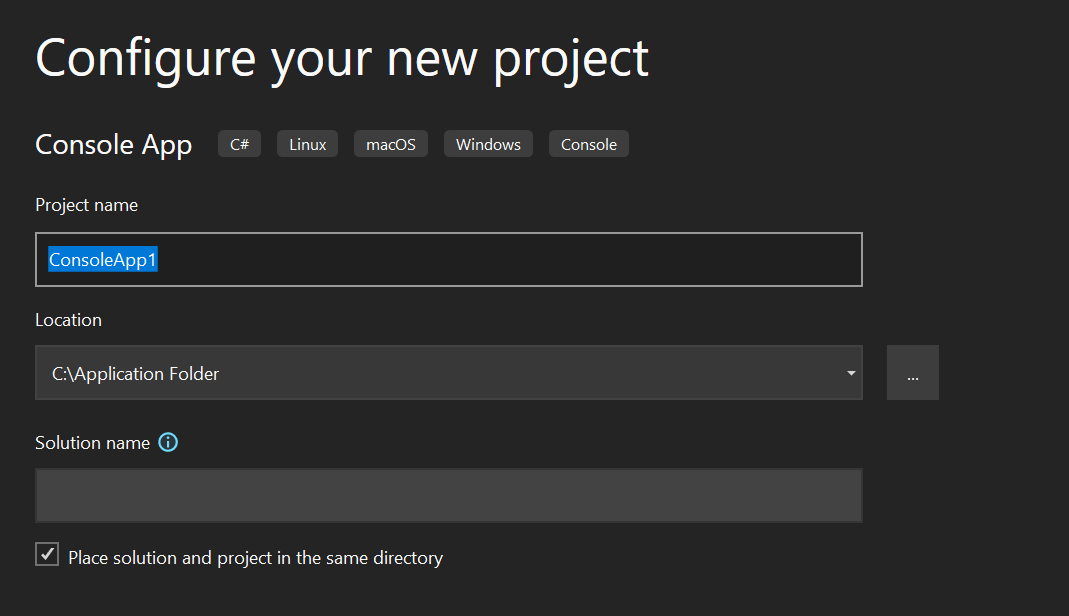
Let’s get started. Launch your IDE and create a new project. Select ASP.Net Core Web API.

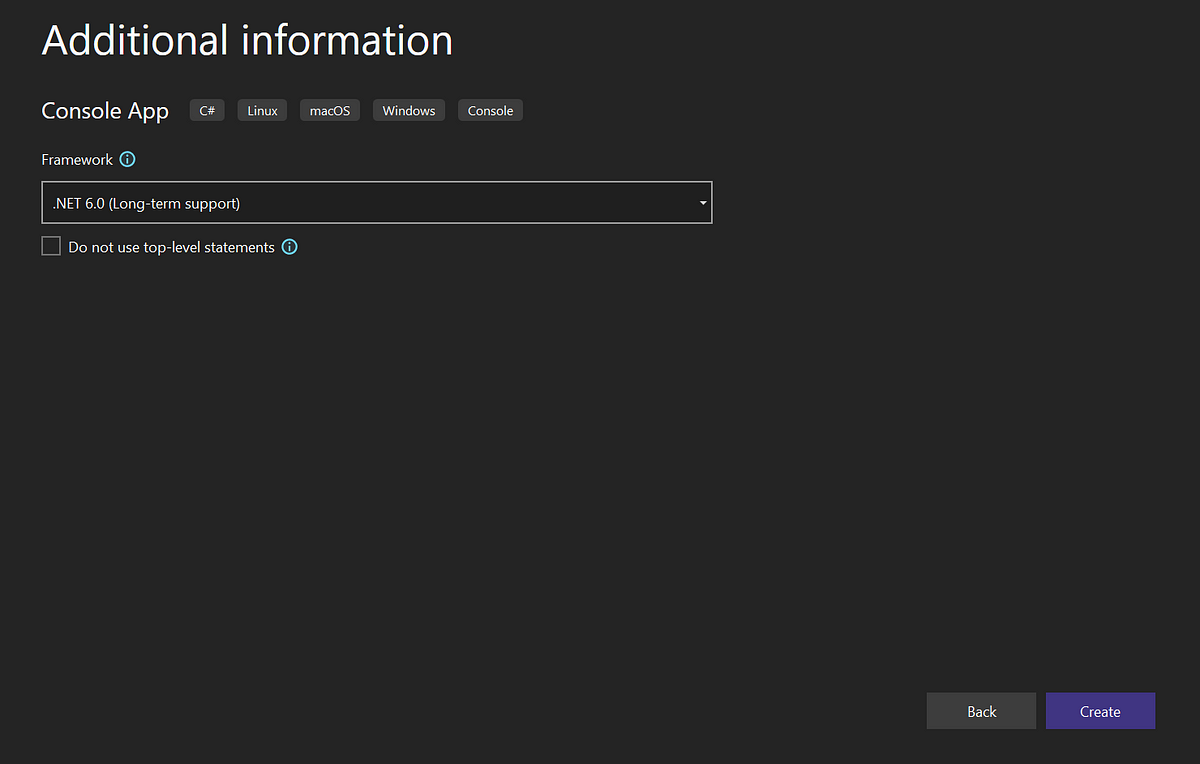
Configure your new project and create it.
In the solution explorer, right-click the solution project > Add > New project
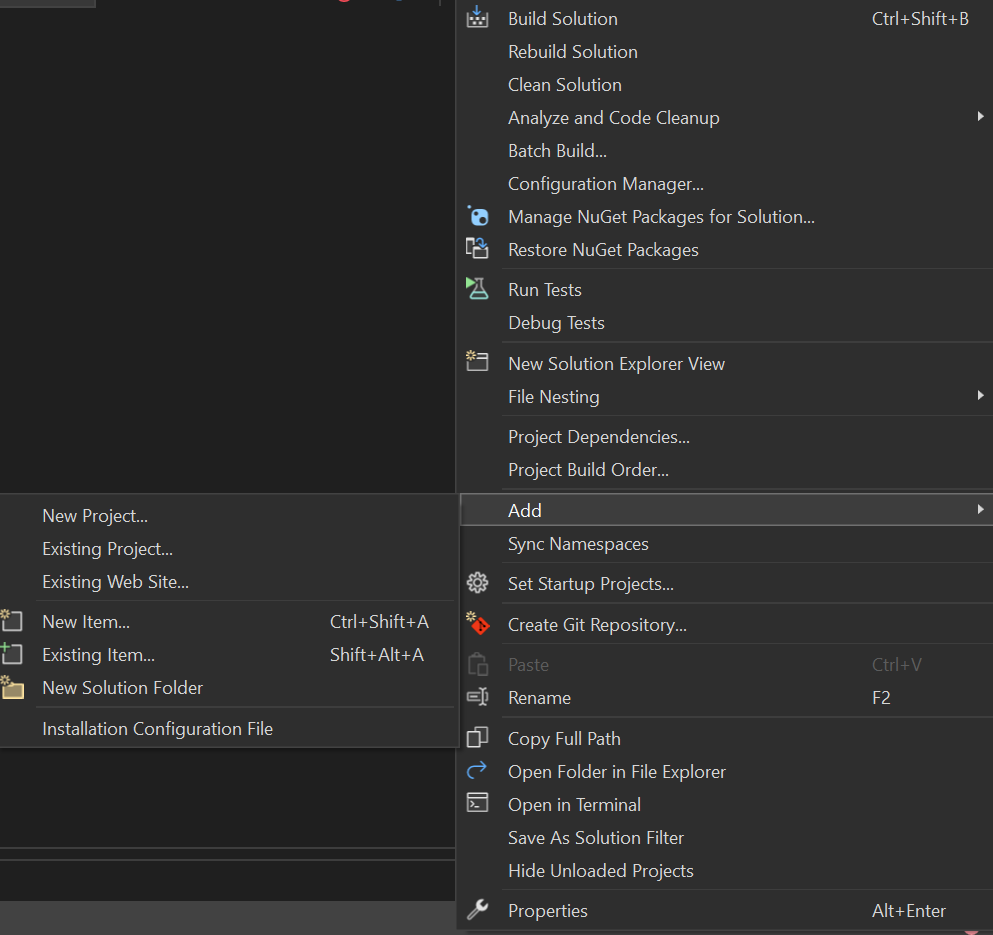
Add a new class library and name it [SolutionName].ApplicationService. This class library will be our business logic layer.

Add another class library and name it [SolutionName].Infrastructure. This class library will implement external calls.
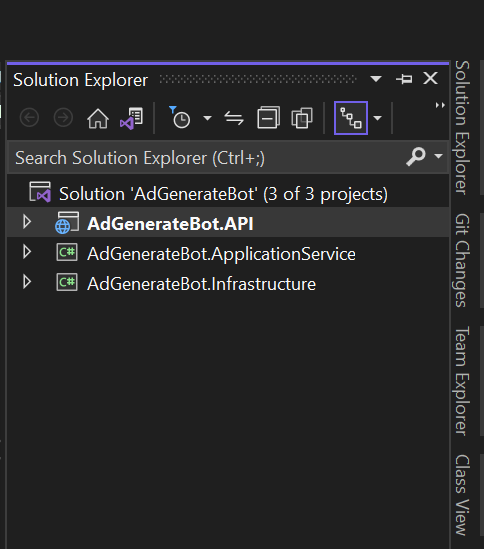
In the end, you should have this project structure.
INSTALLING OPEN API CLIENT NUGET
To install the open api for .net. Go to tools >Nuget Package manager > Manage nuget packages for solution. Browse for OpenAI and install the most recent package.
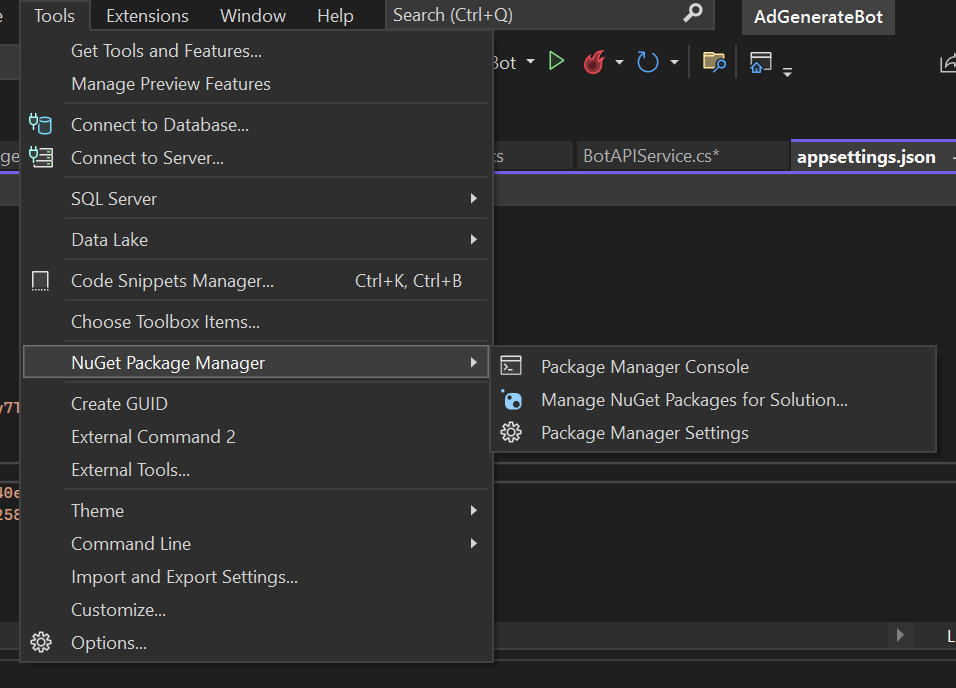
Tools :- Nuget Package Manager

Download OpenAI nuget
To install Open AI nuget from the command line use this :
Install-Package OpenAI
CONFIGURING OPENAI IN APPSETTINGS
Let’s do this: Open appsettings.json file, add your open api secret key and the model to your config. If you do not have one, open an account with Open AI and get your secret key. The model varies for the type of AI you are going to interact with. To know the type of model refer to the Open AI documentation. In this tutorial, we are using the model “text-davinci-003” for completions.
 "Appsettings": {
    "GChatAPIKEY": "sk-#################",
    "Model": "text-davinci-003"
  }
ADD A DATA MODEL
In the solution explorer, right-click on the [SolutionName].Applicationservice > Add > New folder. Name the folder ADProduct. Right-click on the folder ADProduct > Add > Class. Name the class ADGenerateRequestModelDTO.cs
Add the following properties to the class:
 public class ADGenerateRequestModelDTO
    {
        public string prompt { get; set; }
    }
The ADGenerateRequestModelDTO.cs contains a string prompt property.
ADD AN INTERFACE CLASS
In the solution explorer, right-click on the [SolutionName].ApplicationService > Add > New folder. Name the folder “Interfaces”. Right-click on the folder Interfaces > Add > Class. Choose an interface and name it IBotAPIService.cs
Add this method to the interface.
 public interface IBotAPIService
    {
        Task<List<string>> GenerateContent(ADGenerateRequestModelDTO generateRequestModel);
    }
This class has the ADGenerateRequestModelDTO.csas a request parameter and returns a list of strings.
ADD A SERVICE CLASS
In the solution explorer, right-click on the [SolutionName].Infrastructure > Add > New folder. Name the folder “Network”, right click on the Network folder > Add > Class. Name the class BotAPIService.cs and extend the IBotAPIService.cs and implement the method. Write the following code.
  public class BotAPIService : IBotAPIService
    {
        private readonly IConfiguration _configuration;

        public BotAPIService(IConfiguration configuration)
        {
            _configuration = configuration;
        }

        public async Task<List<string>> GenerateContent(ADGenerateRequestModel generateRequestModel)
        {
            var apiKey = _configuration.GetSection("Appsettings:GChatAPIKEY").Value;
            var apiModel = _configuration.GetSection("Appsettings:Model").Value;
            List<string> rq = new List<string>();
            string rs = "";
            OpenAIAPI api = new OpenAIAPI(new APIAuthentication(apiKey));
            var completionRequest = new OpenAI_API.Completions.CompletionRequest()
            {
                Prompt = generateRequestModel.prompt,
                Model = apiModel,
                Temperature = 0.5,
                MaxTokens = 100,
                TopP = 1.0,
                FrequencyPenalty = 0.0,
                PresencePenalty = 0.0,

            };
            var result = await api.Completions.CreateCompletionsAsync(completionRequest);
            foreach (var choice in result.Completions)
            {
                rs = choice.Text;
                rq.Add(choice.Text);
            }
            return rq;
}
This preceding code is a call to OPENAI using the CreateCompletionsAsync and the api key from appsettings.json
ADD A MODEL CLASS
In the solution explorer, right-click on the [SolutionName].Applicationservice.ADProduct > Add > Class. Name the class CustomerRequestModel.cs
Add another Class in the ADProduct folder and name it ADProductResponseModel.cs
Add the following properties to the class:
 public class CustomerRequestModel
    {
        public string Message { get; set; }
    }
CustomerRequestModel.cs contains a string property Message.
public class ADProductResponseModel

    {
        public List<string> ADContent { get; set; }
        public bool Success { get; set; }

    }
ADProductResponseModel.cs contains a list of string ADContent that holds the response from OpenAI and a bool property.
ADD AN INTERFACE CLASS
Let's add another interface. In the solution explorer, right-click on the [SolutionName].ApplicationService.Interfaces > Add > Class. Choose an interface and name it IADProductService.cs. Add this method.
 public interface IADProductService
    {
        Task<ADProductResponseModel> GenerateAdContent(CustomerRequestModel aDGenerateRequestModel);
    }
ADD A SERVICE CLASS
Let's add another service class. In the solution explorer, right-click on the [SolutionName].ApplicationService.ADProduct> Add > Class. Name the class ADProductService.cs and extend the IADProductService.cs . Add the following code:
public class ADProductService : IADProductService
    {
        private readonly IBotAPIService _botAPIService;

        public ADProductService(IBotAPIService botAPIService)
        {
            _botAPIService = botAPIService;

        }

        public async Task<ADProductResponseModel> GenerateAdContent(CustomerRequestModel aDGenerateRequestModel)
        {
            if(string.IsNullOrEmpty(aDGenerateRequestModel.Message))
            {
                return new ADProductResponseModel
                {
                    Success = false,
                    ADContent = null
                };
            }
            var userMessage = new ADGenerateRequestModelDTO
            {
                prompt = aDGenerateRequestModel.Message
            };
            var generateAD = await _botAPIService.GenerateContent(userMessage);

            if (generateAD.Count == 0)
            {
                return new ADProductResponseModel
                {
                    Success = false,
                    ADContent = null
                };
            }

            return new ADProductResponseModel
            {
                Success = true,
                ADContent = generateAD
            };
        }
    }
This preceding code injects the IBotAPIService.cs. Here, the call to Chat-gpt is done and the response is returned.
REGISTER THE SERVICES
Update the program.cs with the following code.
builder.Services.AddScoped<IADProductService, ADProductService>();
builder.Services.AddScoped<IBotAPIService, BotAPIService>();
CREATE A CONTROLLER
In the solution explorer, right-click on the [SolutionName].ADGenerateBot.API.Controllers > Add > Controller. Name the controller ADGeneratorController.cs . Add the following code
    [Route("api/adgenerator/[action]")]
    [ApiController]
    public class ADGeneratorController : ControllerBase
    {

        private readonly IADProductService _adProduct;
        public ADGeneratorController(IADProductService adProduct)
        {
            _adProduct = adProduct;
        }

        [HttpPost]
        public async Task<ActionResult<ADProductResponseModel>> GenerateAD(CustomerRequestModel aDGenerateRequestModel)
        {
            try
            {

                var response = await _adProduct.GenerateAdContent(aDGenerateRequestModel);

                return response;
            }
            catch (System.Exception ex)
            {

                return null;
            }

        }
    }
The preceding code is an HTTP POST method, the method gets the value of CustomerRequestModelfrom the body of the HTTP request.
RUN THE APPLICATION
Launch the application by clicking on the IIS Express.

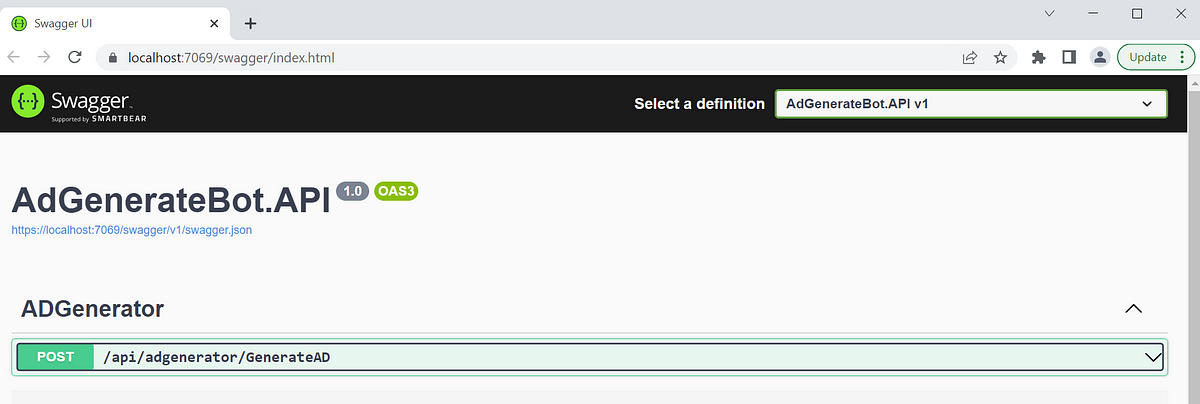
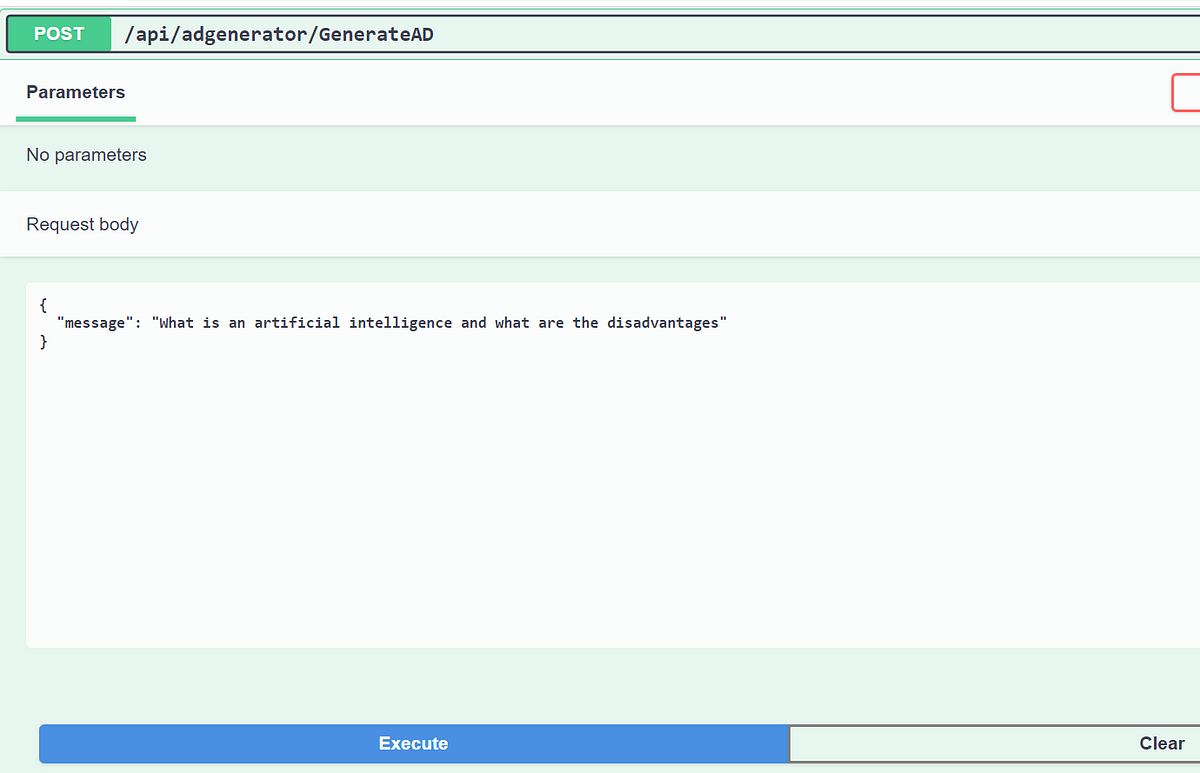
Click on the Post /api/adgenerator/GenerateAd and input your question to make a post request to OpenAI.
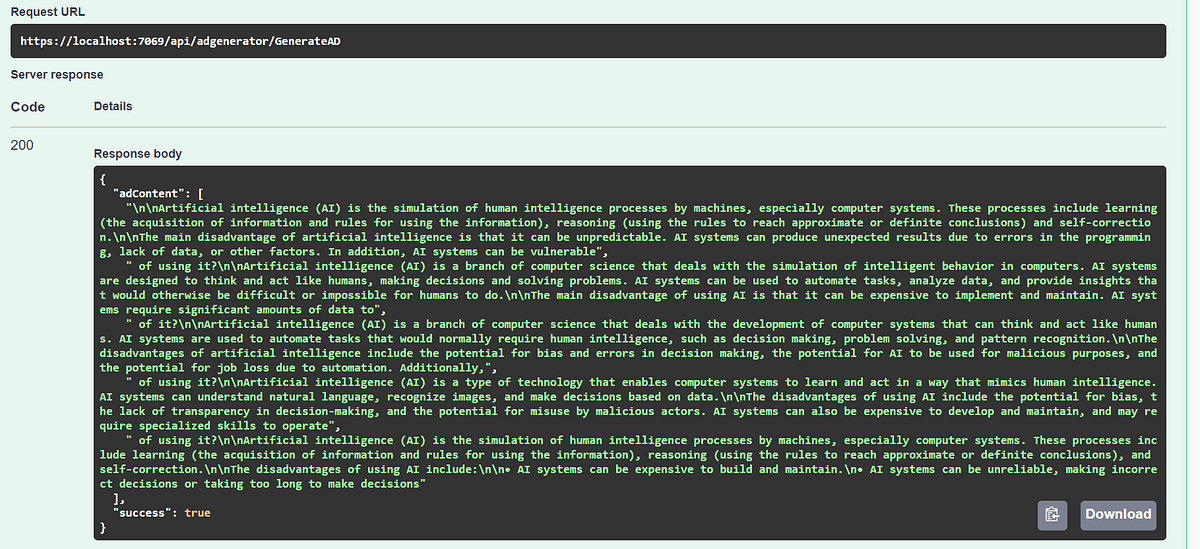
This should be the expected response from Chat-gpt.
In this article, you’ve learned how to configure your application and make a request to ChatGPT using the OpenAI nuget. In the next article, you will learn how to interact with Twilio Programmable Messaging for Whatsapp and your application.